We all know that plastic bottle pollution has become a critical environmental issue, affecting both ecosystems and communities. Rather than contributing to the waste in landfills, why not repurpose these bottles into something useful? This is especially timely in places like Tuscaloosa, Alabama, where community initiatives continue to push for sustainability.
If you are living in apartments around Tuscaloosa, Alabama, or even calling The Gates at South Bend your home, this project is perfect for you. Embrace your love for gardening by turning plastic bottles into chic planters, ideal for decorating your apartment space.
Follow these steps to breathe new life into used plastic bottles and enhance your apartment living experience without running to the store for new plant pots.
1. Gather Your Supplies
The beauty of this DIY project is its simplicity and cost-effectiveness. Most of the materials needed are probably already in your apartment, with a few items available at any local arts and crafts store. Here's what you'll need:
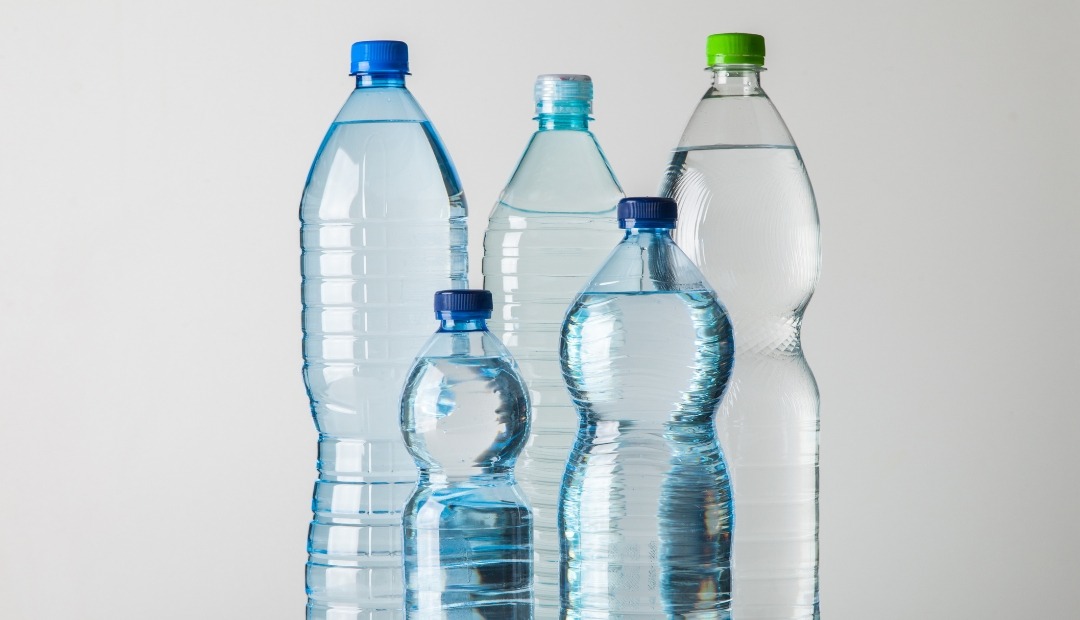
- Empty plastic bottles
- Utility knife
- Scissors
- Sandpaper
- Masking tape or a marker
- Old newspapers
- Acrylic paint and paintbrushes
- Your choice of plant
- Potting soil
- Pebbles for drainage
No matter what was originally stored in the plastic bottle, it should be thoroughly cleaned. Remove any labels and wash out any residues using soap and water. Dry it completely with a cloth to begin your craft.
2. Mark Your Cutting Line
When beginning your planter, first cover your workspace with newspapers to avoid cuts and paint spills. Next, utilize either masking tape or a marker to create a uniform cutting line around the bottle. This serves as your guide when cutting your soon-to-be planter.
3. Cutting the Bottle
Using the line you created, puncture the bottle with your utility knife and carefully cut around it with scissors. You'll want to remove the top section and ensure the edges are reasonably smooth. If you leave some jagged marks, don't worry; you can sand them down in the next step.
4. Ensure Proper Drainage
To promote plant health in your new planter, use the utility knife to pierce several small drainage holes at the bottom. This will prevent excess water accumulation, which can lead to root rot—particularly important in maintaining indoor apartment plants.
5. Sand and Personalize
This stage of the project invites you to express your creativity. Begin by sanding any rough edges and lightly scuffing the bottle's surface to improve paint adhesion. Wipe away dust with a cloth before proceeding to your painting step.
Choose a color palette that complements the aesthetics of your apartment. Feel free to get creative with patterns and colors; the only limit is your imagination.
6. Plant Placement
Ensure that your planter is fully dried before adding potting soil. Gently introduce your plant into its new abode, taking care to fill around it with soil. Top it off with a layer of pebbles for better drainage. Your stylish new planter is now ready to adorn a sunny nook in your apartment.
Why Choose The Gates at South Bend for Your Apartment Needs?
In striving for a comfortable life in vibrant Tuscaloosa, communities like The Gates at South Bend offer unmatched amenities and a welcoming atmosphere. Whether you're considering a two or three-bedroom model, you'll appreciate amenities like effortless surface parking, a lushly landscaped environment, and a griller area perfect for social gatherings. By integrating DIY projects like bottle planters, you can further personalize your living space and fully enjoy the maintenance-free lifestyle provided here.